Tips for Shooting at Golden Hour
Share
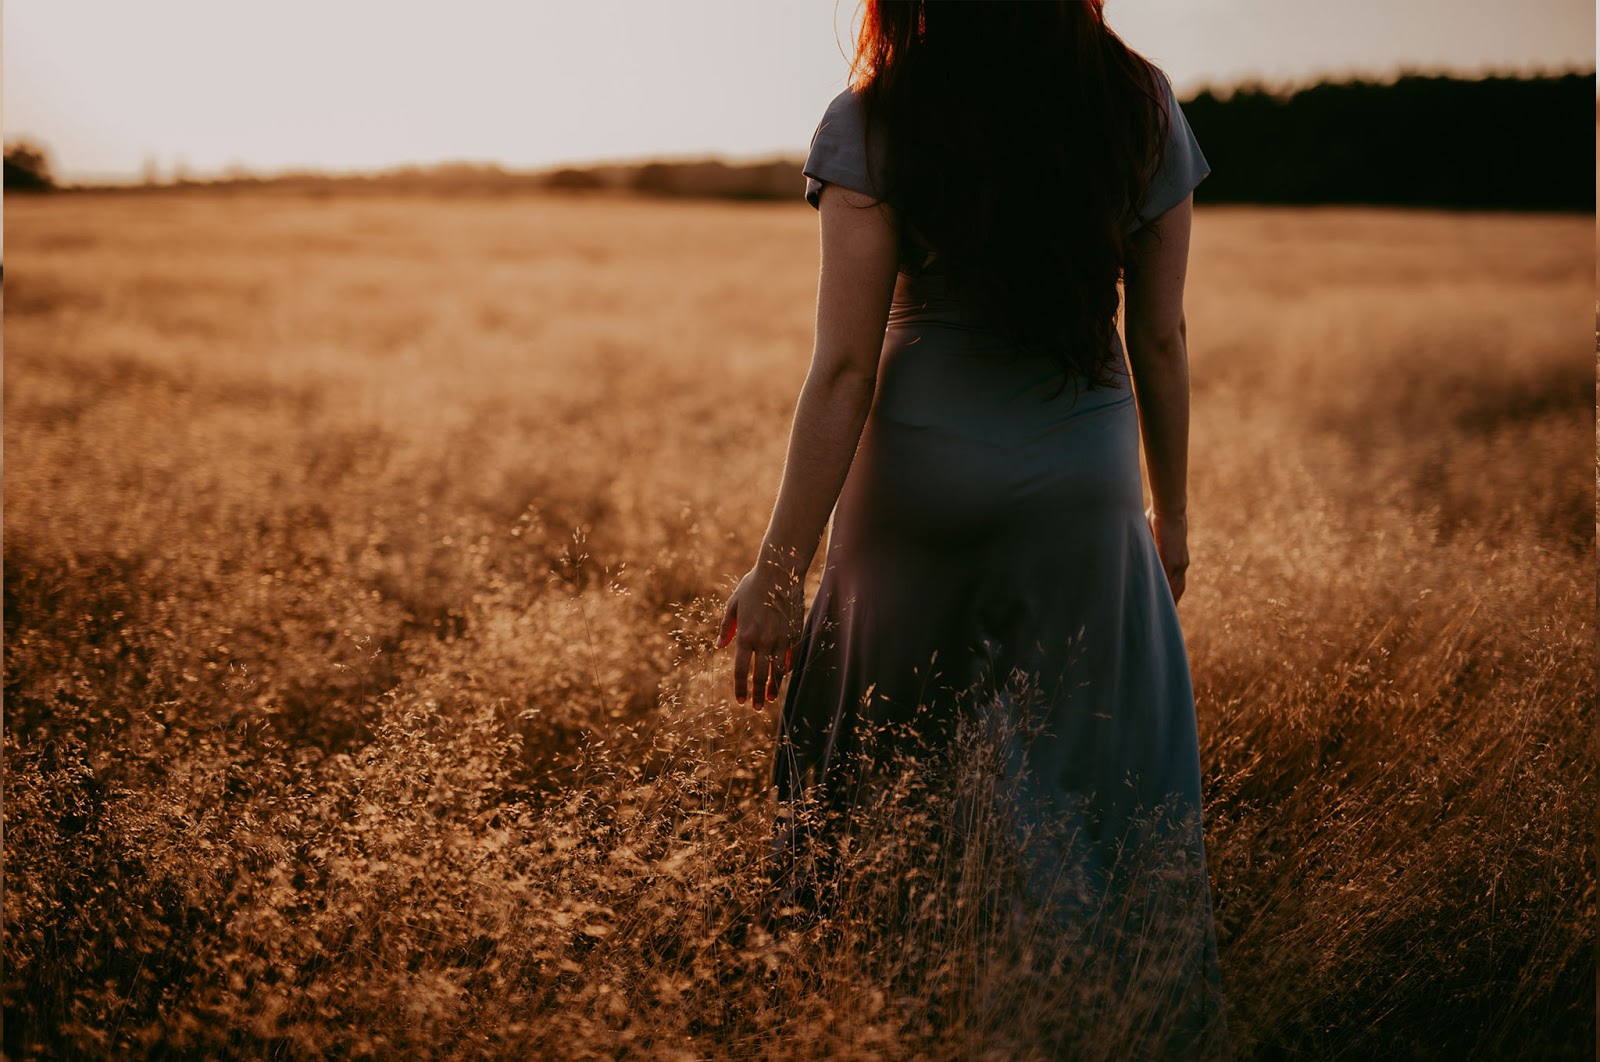
Each Summer I fell in love again with golden hour light. This warm, magical light all photographers are looking for it's hard to replicate. I love the softness of it, the glow, especially when shooting portraits.
This golden light can be found twice a day - an hour after sunrise (Blue Hour) and an hour before sunset.
In this post, I will share my personal tips for shooting at Golden Hour.
1. Know when and be there early
I like to check the golden hour times with the Golden Hour Calculator but you can probably find this info on weather apps and news websites or local press. It's always good to check the weather forecast too. Amount of clouds can make golden light short.
If you are not familiar with the location you are shooting be there early, find the sun and prepare yourself. Try to locate the spot on the horizon where the sun will set up.
2. Shooting at golden hour
Be sure you keep your aperture in mind.
Keep it smaller when shooting landscape (f/8-f/11) to be able to keep more contrast, especially with the sky. You can also try to use filters to keep colours more natural.
When shooting people I keep the wider aperture at f/2.8. I like soft, blurry background and soft bokeh effect. My white balance is also set up for Cloudy Days to keep colours true.
3. Take lots of pictures
With golden hour you have an only short time window to shoot and you will be surprised how it can change very quickly, so my advice is always to be fast and take lots of pictures. Have fun with all the magical effects - try rim effect, silhouette or bokeh and don't be afraid to shoot directly into the sun.


