How to use Photo Overlays the right way.

Whatever you like it or not Photo Overlays are here and it looks that they are going to stay here for long. There is a huge fan base of Photo Overlays users and you are probably one of them since you are visiting this blog. I'm sure that you met some photographers who are totally against the use of any additional editing tools.
You know what? Photo overlays are not only what growth of digital photography bring, these tools have been in use for a little bit longer than Photoshop and DSRL cameras. And the growth is strong.
When I released my first photo overlays pack - Falling Leaves, about 4-5 years ago on Etsy, there was a very small amount of this type of digital products. A few days ago I checked how many items are listed under Photoshop Overlays tag and the number of products and shops surprised me. I'm waving now to all the sellers that just do copy & paste of our product descriptions, listing products under the same name that you can find in our shop, even make bad quality items ''inspired'' by our overlays released 2-3 years ago. Those ''designers'' haven't got an idea that listing Kimla Designs overlays & textures in their shops for a $4.99 is not allowed. Only last month we reported three shops on Etsy selling our items, which does not comply with our Terms of Use. I've never publicly written about all these issues, but having to deal with piracy can be overwhelming, believe me, and this is not only on Etsy.

This post will answer a few questions about Photo Overlays and I will share my personal tips on how to use overlays the right way or let's say - my way.


What are the Creative Photo Overlays?
In short - Photo Overlays are image files, saved as a JPG's or PNG's, that you can apply on top of your own images. There is no need to install them in your Photoshop. In fact, they can be applied with the help of any other software supporting layers - PS Elements, older versions of Photoshop, Gimp or PicMonkey.
We created a free Complete Guide to Photo Overlays some time ago, so feel free to check this post too.
What Can Photo Overlays do to your own images?
With Photo Overlays you can add all the elements your own images are missing. These are extra additions, which you can place on top f your images with the help of the editing software.
For example: you are shooting family session on a beautiful Summer meadow location, full of colorful, blooming flowers and you would like to add some little butterflies flying around the children - it was hard to shoot them or they even weren't there, but you feel they will enhance rather ordinary family portraits, the parents will love to see them too and you absolutely love to surprise your customers. There is no better way to help yourself and use butterfly photo overlays.
Another example: Christmas mini session, very busy time of the year for any photographer. There is no better way to create some Christmas magic than to add some twinkling bokeh lights to portraits, but you are worried about little ones - if this will be safe, with so many people visiting your studio those days, all the props and small kids running around... What about adding these lights in Photoshop? There are so many different Christmas Overlays to choose from, many different shapes or beautiful colors and you don't have to worry about safety.
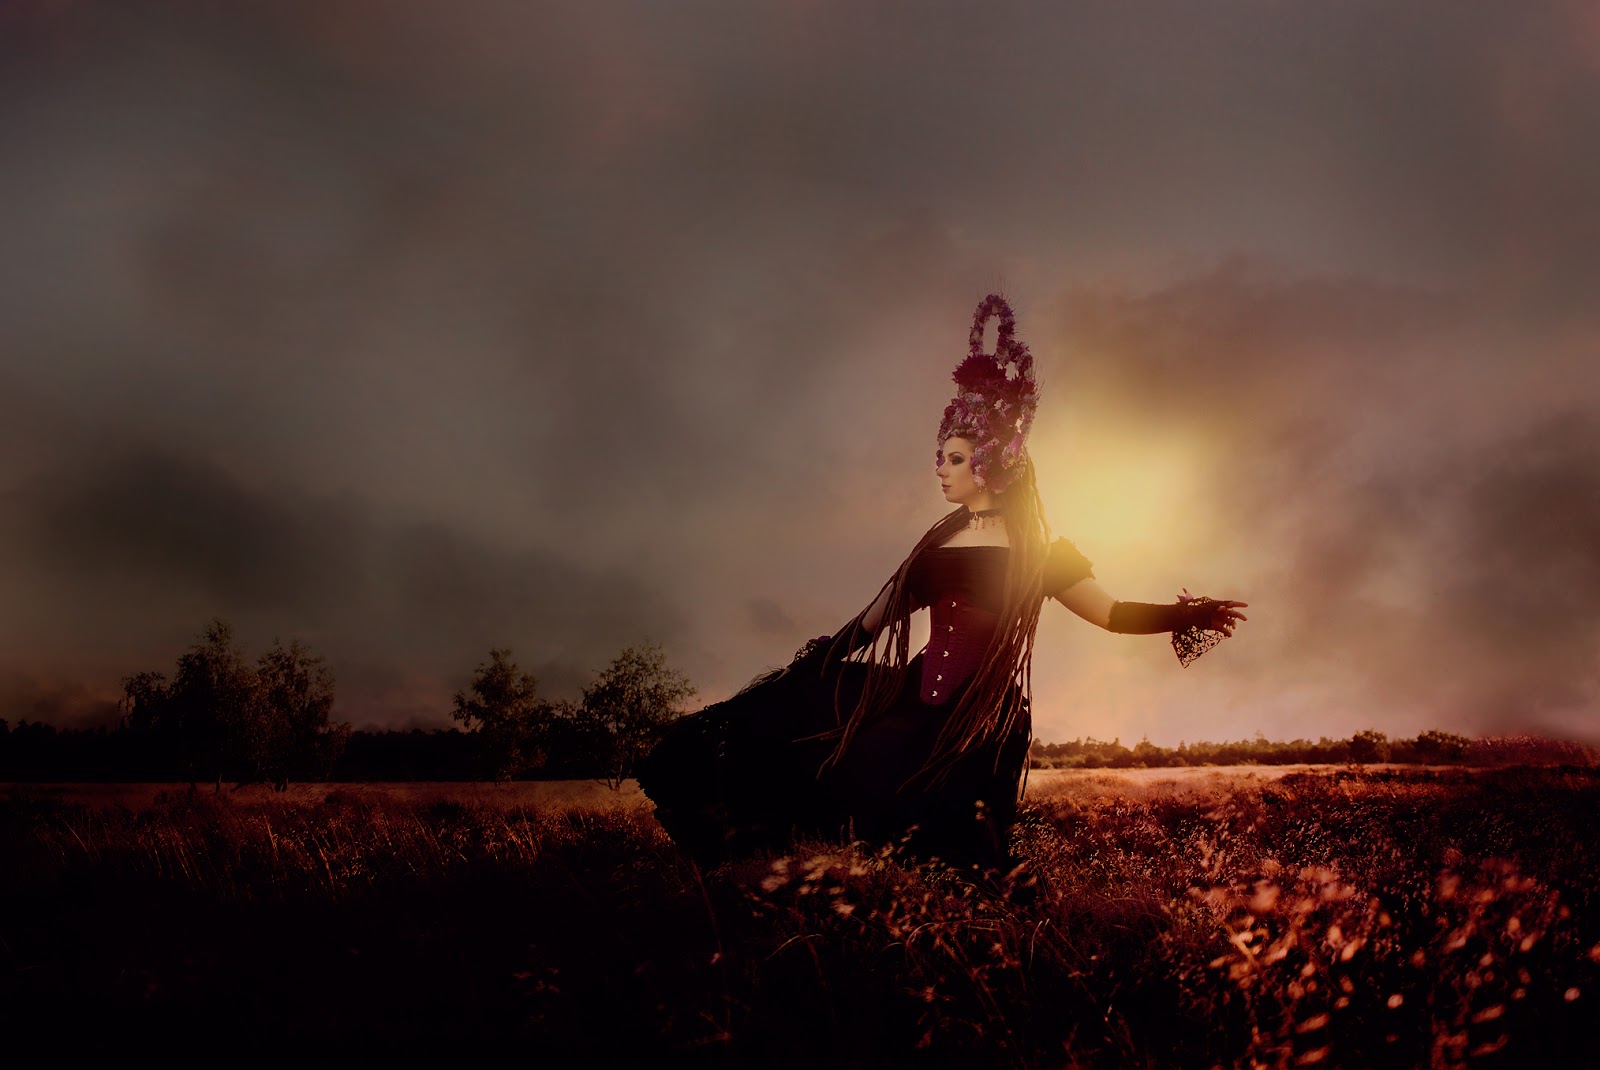
Do you need more examples? You are into creative, conceptual photography and you would love to shoot some portraits at golden hour. You booked a model, MUA, hired beautiful vintage clothes, paid your assistant and found the most perfect location. You know you have only 1 hour to shoot, everything is ready, all the people involved are waiting, your model is in full makeup... and just before the sunset, the clouds arrived. But you checked the weather forecast a few times ahead of the booked date, but what can you do, the weather is unpredictable. You still shooting but the sun is covered and your beautiful, warm golden light is not here. You probably know what I'm going to write - use some Photo Overlays, fake it a little bit, you deserve it and if you do it the right way, nobody will notice.

How to use Photo Overlays the right way?
With the Photo Overlays, you should always remember, that they are an extra layer. You can apply them by simply drag & drop them over your images.
If you like to use them the right way, learn about layers, different modes and effects that you can achieve with them. With the transparent PNG overlay, it is enough to use Normal mode - all the petals, leaf overlays and any other elements can apply that way.
With the Colour and Light Overlays, Painted Overlays, borders - you can try Soft Light mode or Normal one, but there are no rules, it really depends on the picture.
When using JPG overlays, with the black background (most of the light/bokeh overlay, snow overlays, rain or fog overlays you should use Screen mode to hide black color). These are shoot with the camera, they are real effects, so to keep them as much realistic as possible we saved them on a black background.
It's always about your image first, so before applying any kind of overlay you should always remember to:
Clean edit your image first - correcting color, white balance, contrast, light and shadows and maybe some retouching. Prepare your base before moving into a more creative part.
Match the colors of the overlay with your images. You can either pick the right tone from the ready to use overlays or tweak the colors in Photoshop. Easy.
I've seen purple neon petals added to images from white orchard session and I noticed only petals, so this kind is a no from me.
Before applying any photo overlay think about the right position. Check once again light and shadows on your image. The position of the sun. Maybe you should use dodge and burn tools, wrap tool, blur your overlay more or use motion blur effect.
You can alter each overlay, be creative with them and I probably mentioned this many times on the blog - Photo Overlays are just tools. Don't be afraid to use them.
It's all about blending, layers, different modes and very basic editing techniques. We have many Free Tutorials on the Blog if you haven't found them yet.
Sometimes I am getting an email that our photo overlays "do not match my pictures" or "I'm not able to apply them correctly". It's all about finding the right image - what will work with some pictures it won't necessarily fit other. If you are not able to apply an overlay, maybe there is some other way to do it, some other easy method. Photoshop is a really fantastic software, you can create magic with it.
Photo Overlays won't fix bad image but they can beautifully enhance the perfect one.
Hope this post answered some of your questions. This is just my way of being creative with Photo Overlays. Maybe you have any other personal tips? Please share them in comments.
If you are using our overlays in your work and you would like to be featured, feel free to tag us on fb @kimladesigns or on Instagram @kimladesignsphotography.